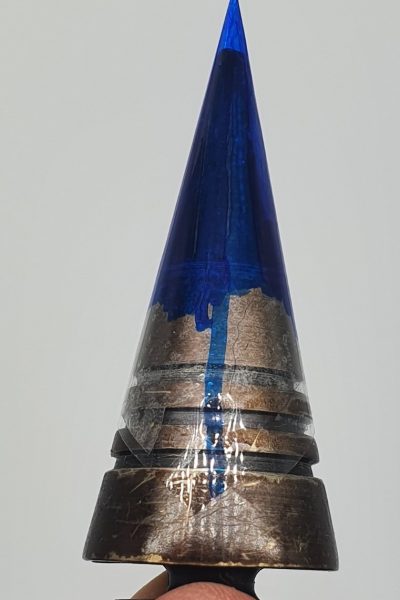
inking
After the second layer has been glued on, coloring of the cone begins. For me, permanent markers like those from Edding turned out to be the right choice. highlighter e.g. B. not sticking properly on the slide. However, you can use them if you want to have special color effects. So that the cone is colored correctly in all its layers, I always start by drawing a long line down the cone on the second layer. This line serves as a marker. When inking, it's easy to lose sight of what has or hasn't already been inked. The line serves as a marker. In this way, it helps to always completely color the entire cone.
When coloring you should take your time. The result is all the better if you pay attention to coloring the respective layers completely. Especially with non-opaque colors such as orange, the coloring of each layer ensures that the cone can be easily recognized afterwards, even from a distance.
Caution!
The fourth layer is the last layer to be colored! The fifth layer forms the conclusion and dries up the coloring. Do not color the fifth or last layer. The paint wears off there over time and gets your fingers dirty, among other things.


